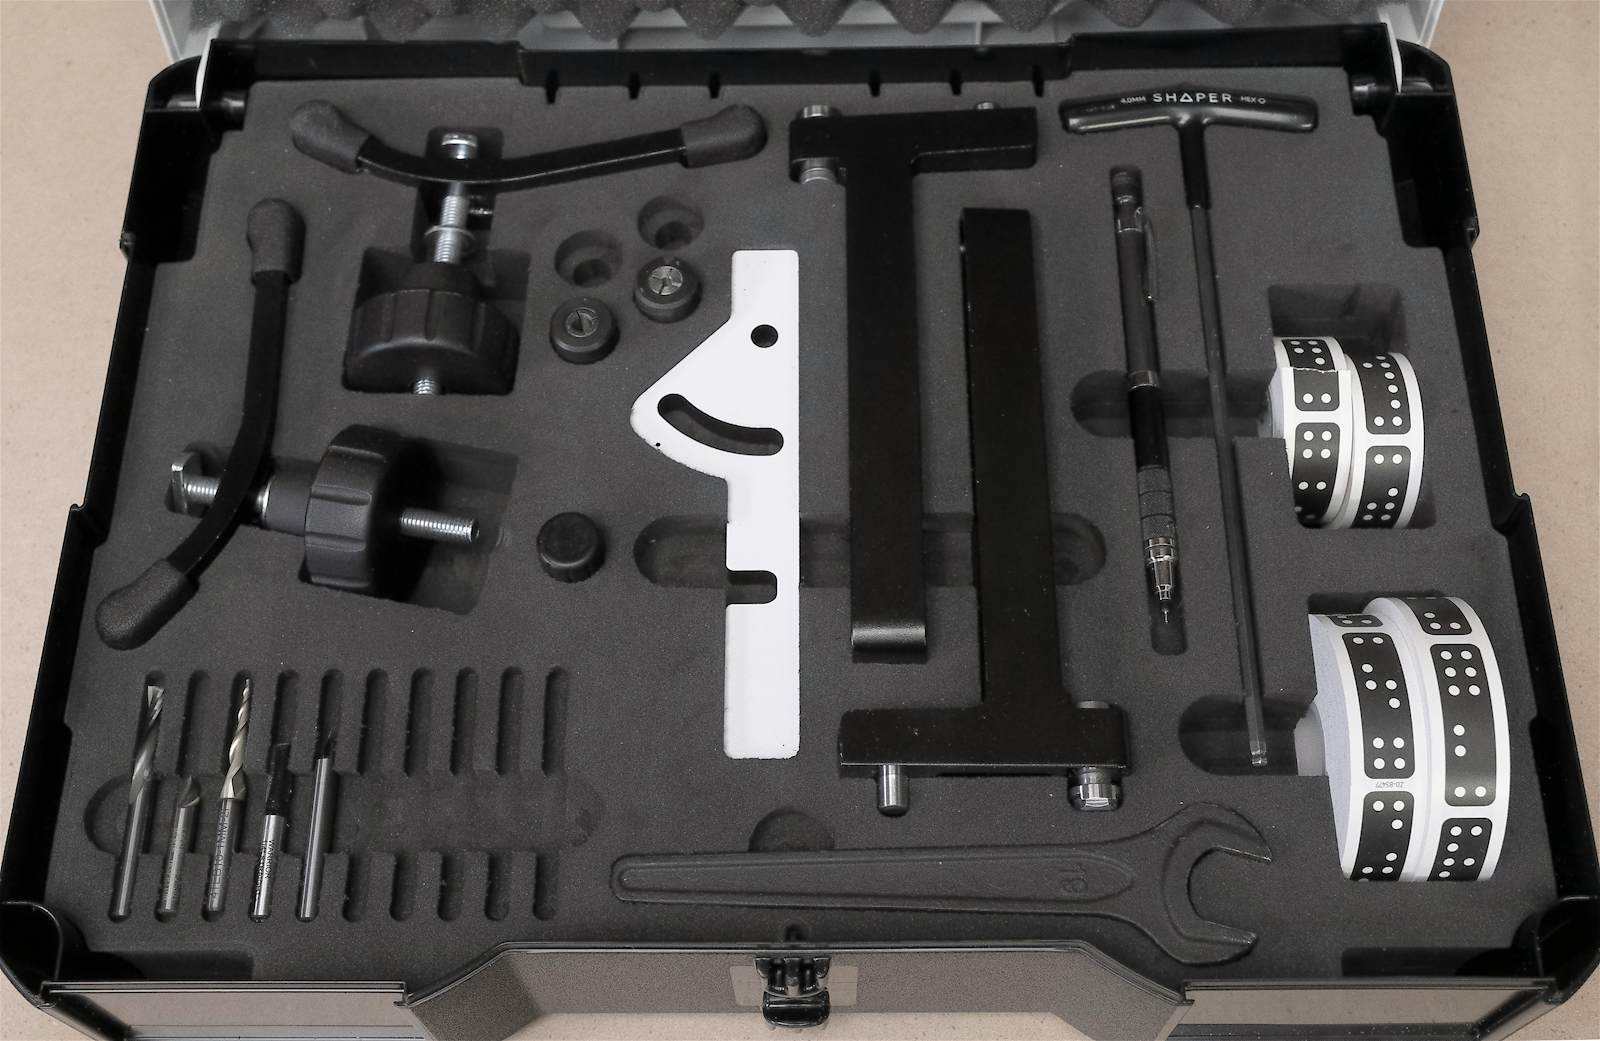
Shaper Workstation Accessories Kit A


This is the standard systainer insert kit for Shaper Workstation accessories. Feel free to cut as is, or use it as a starting point to modify, create and share your own. [ note ] here is a really nice alternative layout: https://hub.shapertools.com/creators/5e8789a2c8f2b1000fb460d7/shares/5f96254956cb3c00100e1229
705
Systainer Inserts
Files Included (2)
Shaper Workstation Accessories Kit A_depths.svg
92 kBShaper Workstation Accessories Kit A.svg
73 kB
Materials
fixture: 1/2" ply or MDF approximately 24" x 24" .
4x2 supports ( 1.5" x 3.5" )
double sided tape
The foam insert, shipped in the Systainer
Tools
Stock 1/4" cutter. ( a cutter with a longer fluse length would be preferable, but the stock cutter will suffice providing you do not cut deeper than 19mm ( 3/4" ) per pass )
Shapertape
Instructions
Video of the process here: https://www.youtube.com/watch?v=IjGq6d4L8BQ Discuss with the community here: https://community.shapertools.com/t/customizable-shaper-sys-1-megathread/4177 Notes: Test fit components as you cut to confirm your settings are correct. You do not need to cut all shapes in one sitting; the fixture enables you to return at any time to add geometry if you want to just cut a few shapes initially. Individual object outlines are available on ShaperHub under the category "Object Outlines" if you want to create your own arrangement. https://hub.shapertools.com/creators/5d68222279a38a000faca8ca/shares/5e9651a4cd5729000fa2f772 Other Systainer Inserts like this one will be available under the "Systainer Inserts" category. Feel free to adapt the design, and to share your own. Use double-sided tape to adhere your 24"x24" panel to an MDF spoil board. Add ShaperTape to the MDF surface. Do not add ShaperTape to the foam itself -- it flexes and will cause tracking issues. Scan your workspace and align a grid to the bottom left corner of the foam. Using the lower center anchor point to place the file at X= 12" Y= 2". Cut the perimeter hole for the foam. Remove the offcut. Raise the panel so it sits on the 4x2" supports, confirm it sits flat, and shim the underside of the foam if needed. Add double-sided tape to prevent things from moving. Insert the foam insert into the jig. Adjust your cut settings as follows: 4.5 spindle speed, no offset, default plunge and auto speed, cut up to 19mm in one pass. Cut each shape at the depth defined. Cut no deeper than 19mm per pass. Once the top is complete, remove the foam and flip it over. In design mode, hover over the file so it is selected and copy it. Align it to the same location ( X= 12", Y =2" ) using the bottom center anchor point. Before placing, select scale, unlink the X and Y values, and press the "+|-" button to flip the shape horizontally. Now, place the flipped design. Highlight the original shape and delete it (the square tape shapes on the right are easy to spot and highlight). Delete the cut history (the little erasor up by the tape health meter) Cut only the square tape profiles (now on the left) first at 19mm deep, then at 30mm deep. All done! Pop the insert out of the fixture and into your Shaper SYS1.

