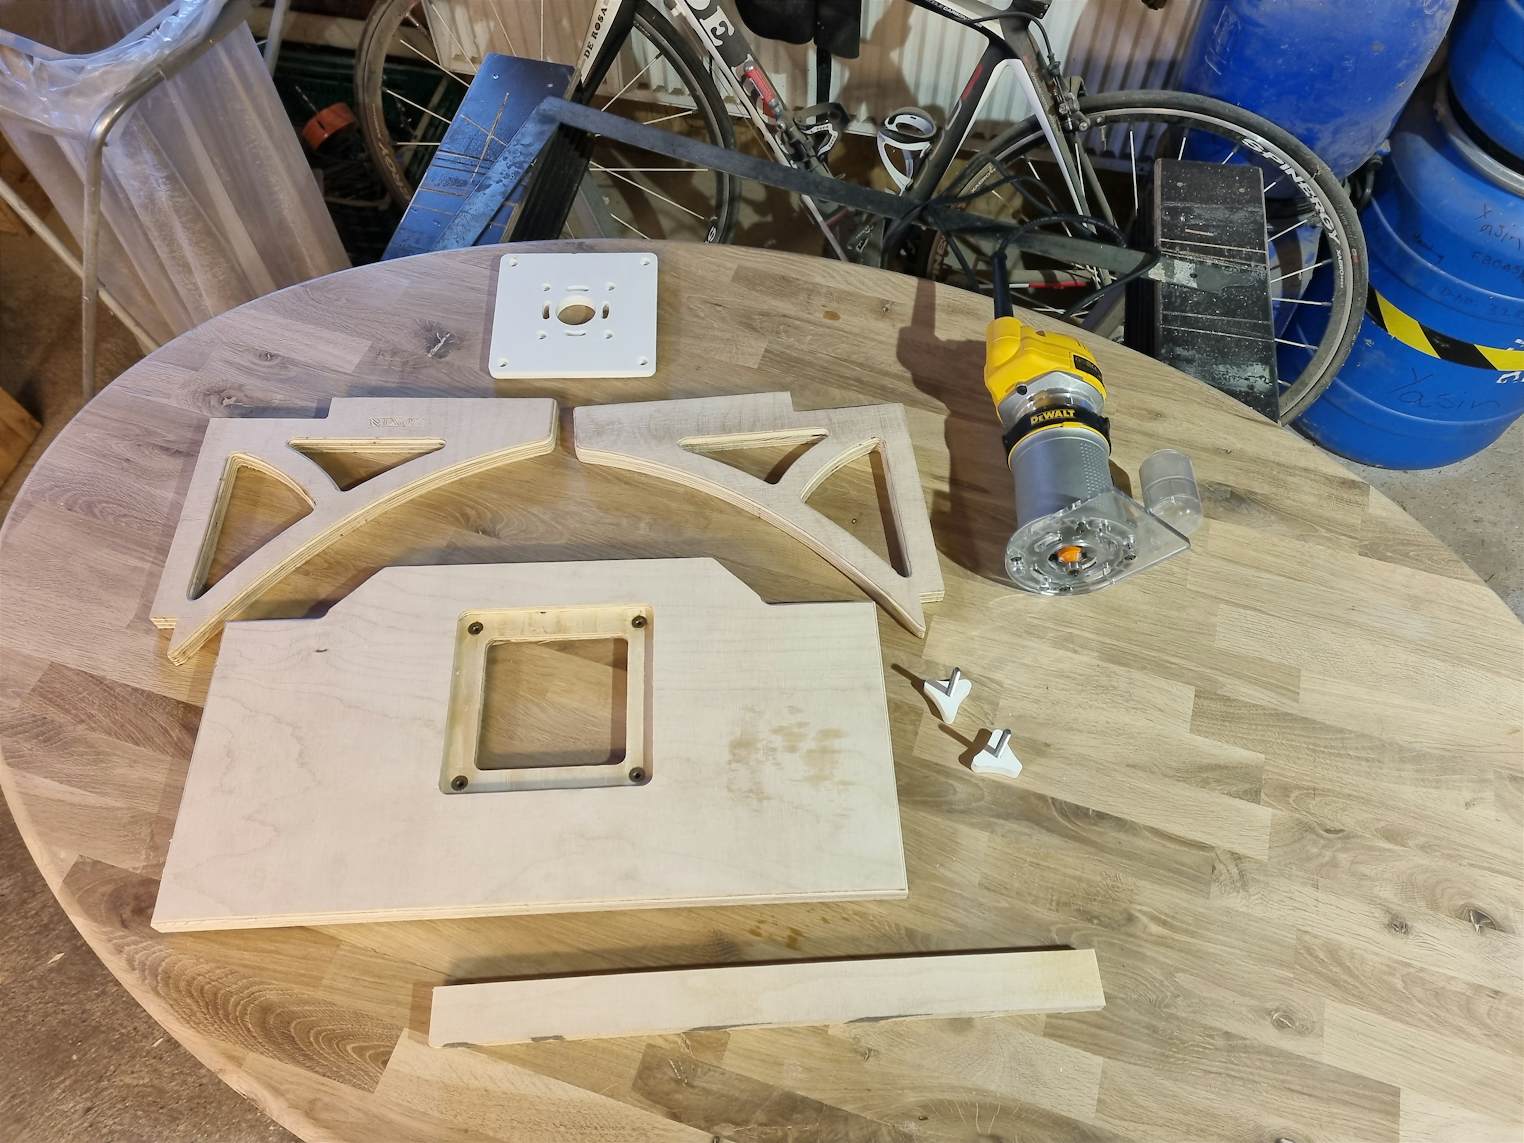
DeWalt Router table for Tablesaw


An extention of the DWE7485 tablesaw - with at table for the D26204k Router
69
Jigs & Fixtures
Files Included (3)
Knob for Hex Nut 6mm.svg
3 kBRouterbase.svg
3 kBrouterbracket.svg
1 kB
Materials
18mm plywood
12mm Corian tabletop
6mm hexnut
Tools
SO
Tablesaw
Router
Instructions
The side table is flush with the tablesaw, so basicly you don't need to remove it, cuz it'll work just like an extention or a bigger worksurface for your tablesaw. But if you'lle need to trasnport it ot just like it to be put away it's an option :) the two brackets fits on the DWE7485 from 2020 however I've seen some videos where the saw it self looks a little different from the one I have, so I can't be 100% sure. You can use the fence of the saw as it is and make a hole in the aluminum for the router. However, my saw is brand new so I went with a different approach. 1) So first I made the two brackets and the braces in the bottom to make sure the did not tilt and to make it a less fragile piece when it was all together. Bracket plywood is: 290X270x18mm (this is a tight fit, so make it 20-30 mm bigger and your good in the lineup) Braces: 34X437X18mm 2) Then I made the two knobs for a 6mm hexnut. I glued in the nut with some resin. marked the holes on the brackets, to mark them on the metal frame of the saw. I used two 6mm threaded rivet nuts in the frame. you can also drill the whole way through and put a wingnut on the other side.. 3) I made the baseplate for the router. Depending on the thickness of the material, what screws you'll use etc the depth of the holes might be different depth than mine etc. Of cause the material thickness also determines how deep you’ll need to countersink it in to the top. 4) After mounting the brackets I made the top, but for the shape I just used the jigsaw. The I lay the baseplate for the router on it to figure out where to place it and shaped the hole for it. For making the baseplate secure I used 4 screw brushes w/collar for 6mm 5) Last step is to decide if want to make a fence or use the one on the saw, the brilliant thing is weather you choose A or B you’ll be able to micro adjust the fence using the built in system for messuring, alle you need to do is adjust the guide. I build my own fence as you can see and I used 4mm threaded rivet nuts to make is sit in place. Enjoy I know I will…


