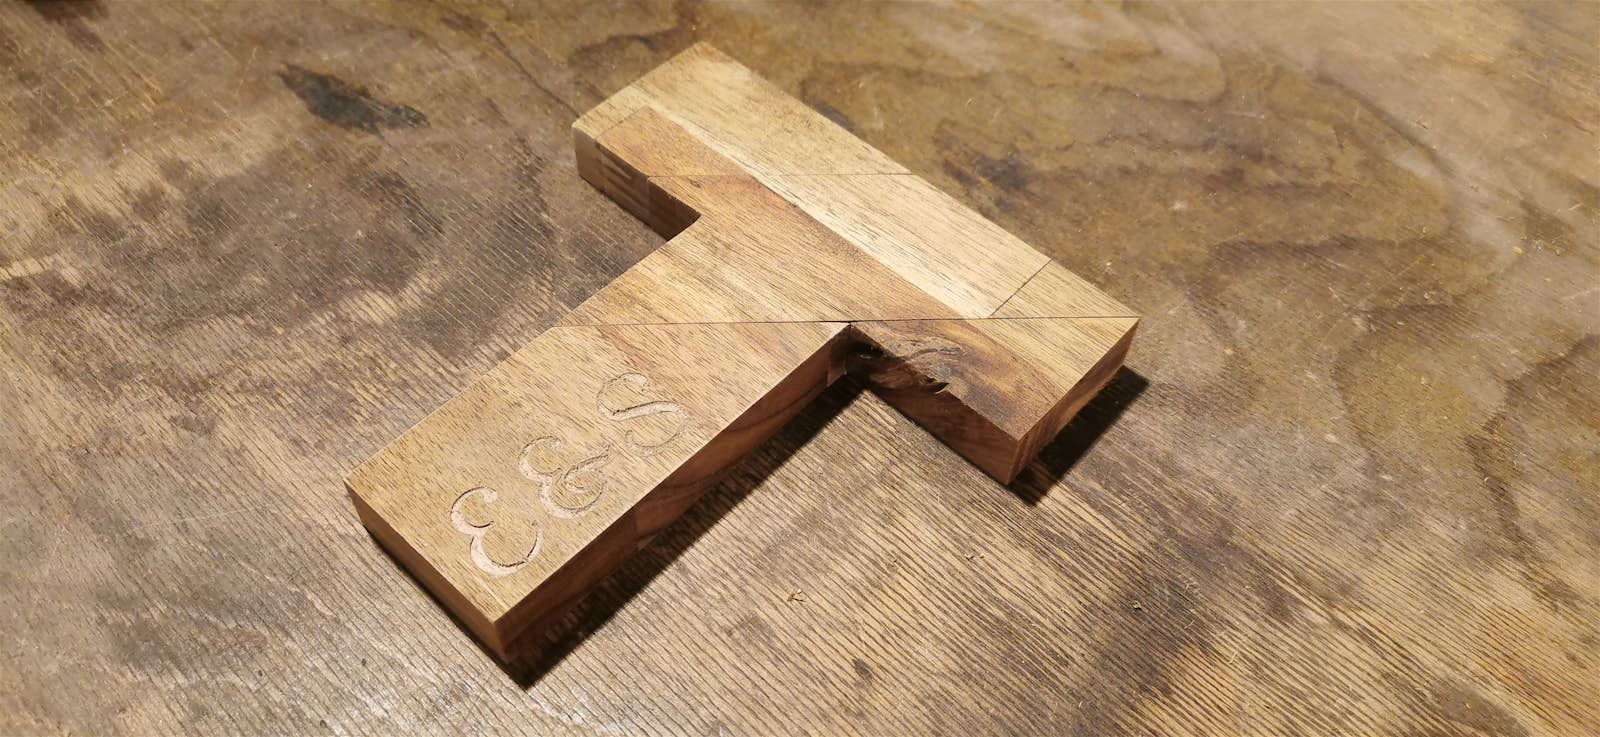
The T Puzzle


I made a "The T" style puzzle as a christmas present for my sister and her husband (please don't tell them yet :) It consists of four parts and an "instruction manual" which only shows the outlines of the shapes to be made (ok, there's a cheat sheet included as well). Harder than one might think to solve all the possible arrangements.
9
Decor
Files Included (4)
The T Puzzle Part A.svg
2 kBThe T Puzzle Part B.svg
2 kBThe T Puzzle Part C.svg
2 kBThe T Puzzle Part D.svg
2 kB
Materials
I used 18mm Acacia wood, but any size will do - the puzzle ist not height-dependent.
Tools
- Shaper Origin
- If desired: Small (~1mm) cutter or engraving bit for logo
- 6mm end mill
- 400 grit sandpaper
- Wood oil
- Double-sided tape or clamps for mounting
Instructions
Firmly attach your material to the working surface (I used double-sided tape). Ensure that there is enough tape under each one of the parts (so be sure to plan ahead your parts placement :). Start with the logo, for example on puzzle part D. I cut mine about 1mm deep. After that, cut all the outlines with an offset of around 0.4mm (larger than the finished parts) until there is only 1-2mm of material left. Remove the offset and cut the last pass to free all parts. (With this method, you can achieve clean edges as the cutter doesn't have to remove much material during the final pass and imperfections during the first passes don't matter because of the offset) There is one inside edge on part B which will be rounded (depending on your cutter diameter). Use a file to turn that into a 90 degree edge. If desired: Color the logo with acrylic paint using a paint brush. Paint spillage on the top surface of the part can be removed by sanding after the paint has dried. Sand all surfaces and oil the parts for a nice look and feel. Print and laminate the manual and give it to someone who loves a good puzzle and/or a neat table decoration :) Puzzle manual available at http://www.woodpuzzles.com/Puzzles/T_Puzzle/T_Puzzle_Booklet.pdf


