Pork Butt Cutting Board
By Thomas109|BY-NC-SA 4.0 License|Updated December 18th, 2020
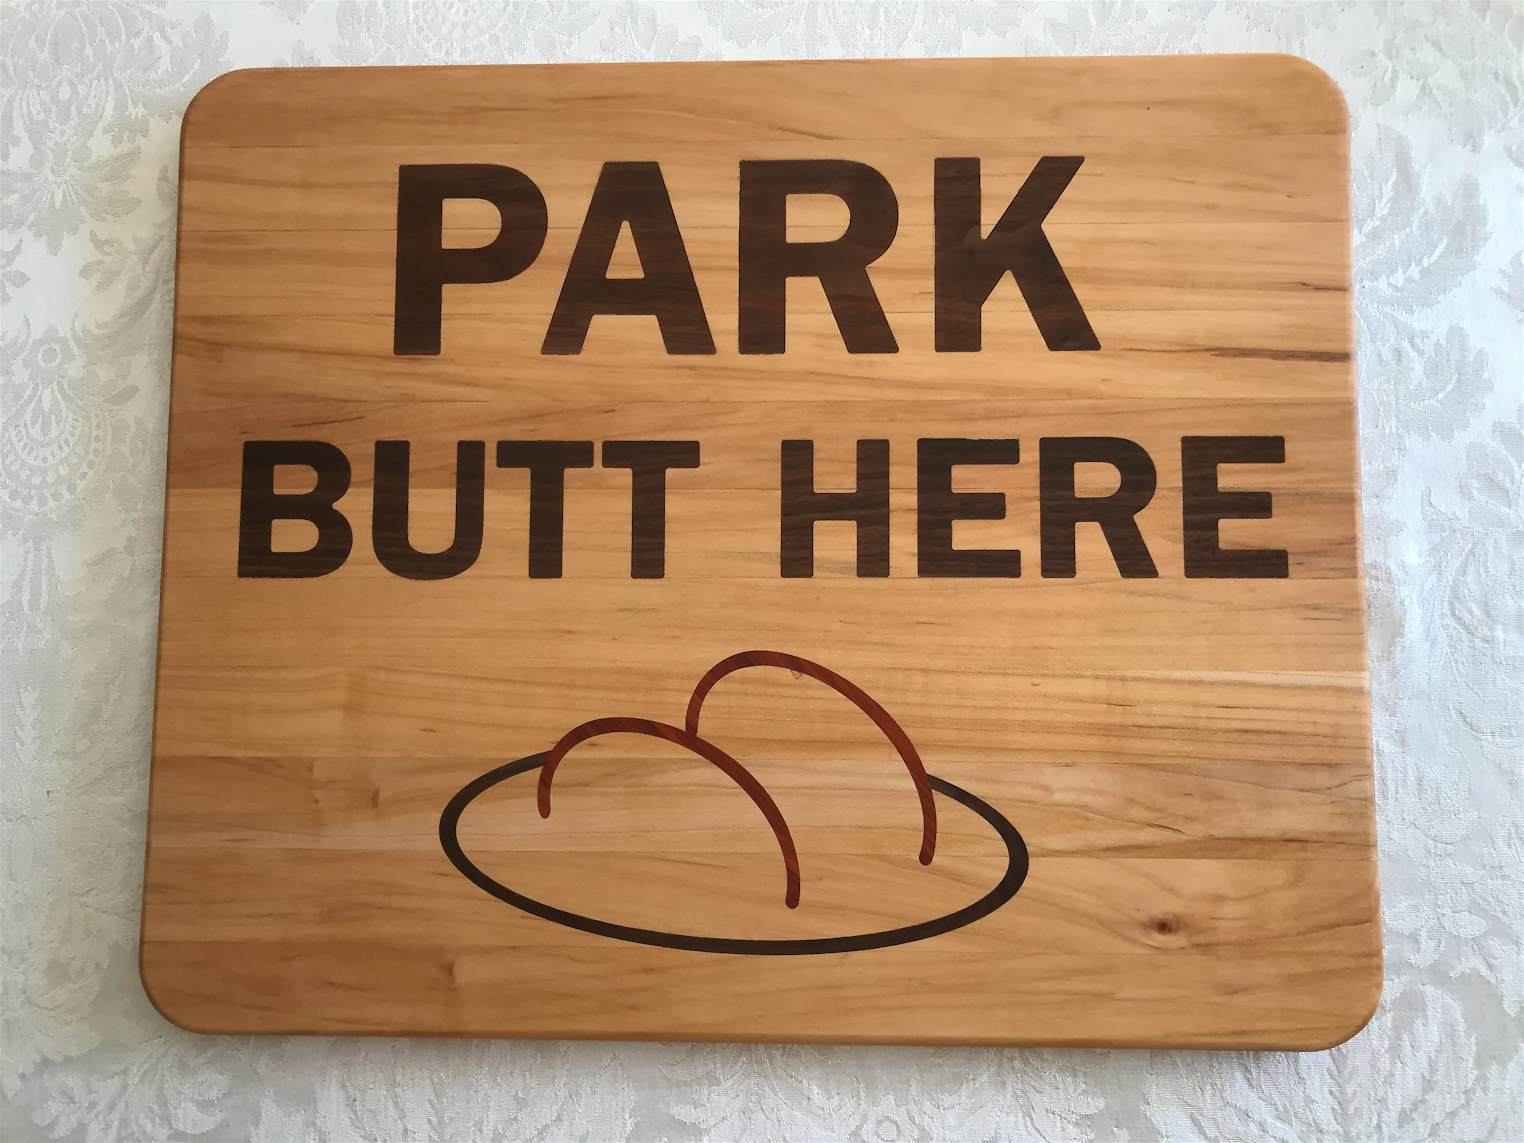

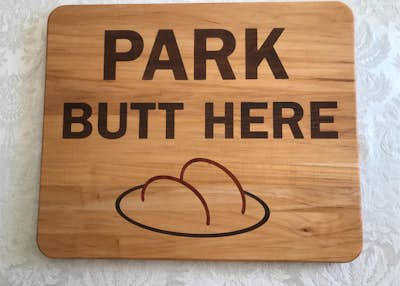


So, I have this relative that grills up awesome pork butt on his Green Egg. What better to give him for Christmas than a smart alec cutting board in recognition of his talents, in the style of a highway sign. The pictured cutting board measures 16 x 20 inches, which is a good size for a large roast. Of course, with an editor, you could scale it up or down to suit. The artwork is all inlays, embedded 1/4" deep. Note that the inlay order is important - see the Instructions below.
2 hr
Intermediate
3
Files included (1)
3/4" Hard (Rock) Maple for Cutting Board
5/16" Walnut for Lettering and "Plate"
5/16" Padauk for "Butt Cheeks"
TiteBond III Glue
Shaper Origin
Origin Workstation - Optional but helpful
1/4 Straight Bit (hogging out inlay holes)
1/8 Straight Bit (detail work)
1 - Cut and glue up a 20.5" x 16.5" cutting board using 1.5" strips of rock maple. Edge joint the strips so the glue up is tight. I used TiteBond III glue to give the joints some water resistance for washing.
2 - Finish cut the board to the final 16" x 20" size. I rounded the four corners to a 1" radius to soften the look, then put a 3/16" radius on all edges for looks and to prevent chipping.
3 - Using the 1/8" straight bit in several passes, cut out the letters, "Plate" arc, and two "Butt" arcs. I attached the wood with carpet tape to the Shaper Workstation platform and the details are sized to fit the platform spoil board with the outrigger attached. I used the wood species in the materials list, but feel free to choose different species. My final pass on the letters was done with a 0" offset.
4 - Using the 1/8" straight bit, route out the "Plate" inlay with an outside cut, a little shallower than the walnut arc. This will allow you to sand off the excess and leave a perfectly flat surface. I routed out 1/4" depth for a 5/16" inlay. My final pass was done at -0.003 offset to allow for a snug fit but some glue squeeze out. Glue in the "Plate" inlay, let it dry, and sand flush.
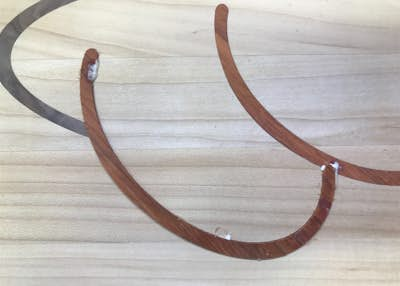
5 - Repeat for the lower "Butt" arc. Note that this arc cuts into the "Plate" arc for a precise fit. See attached picture.
6 - Repeat for the upper "Butt" arc. Note that this arc cuts into both the "Plate" and "Butt" arcs for a precise fit. See attached picture.
7 - Using the 1/4" straight bit, route the letters with an inside cut, then pocket cut the bulk of the material. Change to the 1/8" straight bit to do the final cuts all the way into the corners. Again, I used a -0.003 offset on the final pass so I didn't have to use a hammer to force the letters in the pockets. I rounded the corners to use a 1/8" bit, but a tiny touch up with a chisel might be necessary to make some of the letters drop in. Glue in the letters and sand flush.
8 - Oil the entire thing with mineral oil. This is food safe and will make the grains in the wood really "pop".
9 - Enjoy!