Shaper Weight Stand for Smoother Cuts
By DetAngel|BY-NC-SA 4.0 License|Updated February 15th, 2021


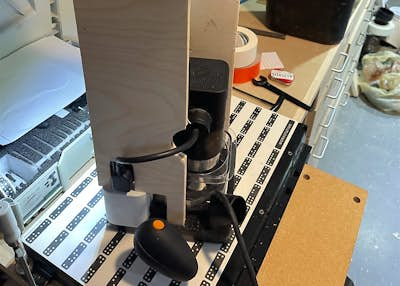

A stand for supporting weights to apply consistent force when cutting with your Shaper
20 min
Easy
12
Files included (2)
0.5 inch material. I used Birch plywood. At least need 14"x20" or two 7"x20"
0.75 inch material. Anything will do, Say two 8" by 8" pieces or so. I used scrap 0.75" Birch ply
Shaper
Glue/brad nails/screws/some fastening technique
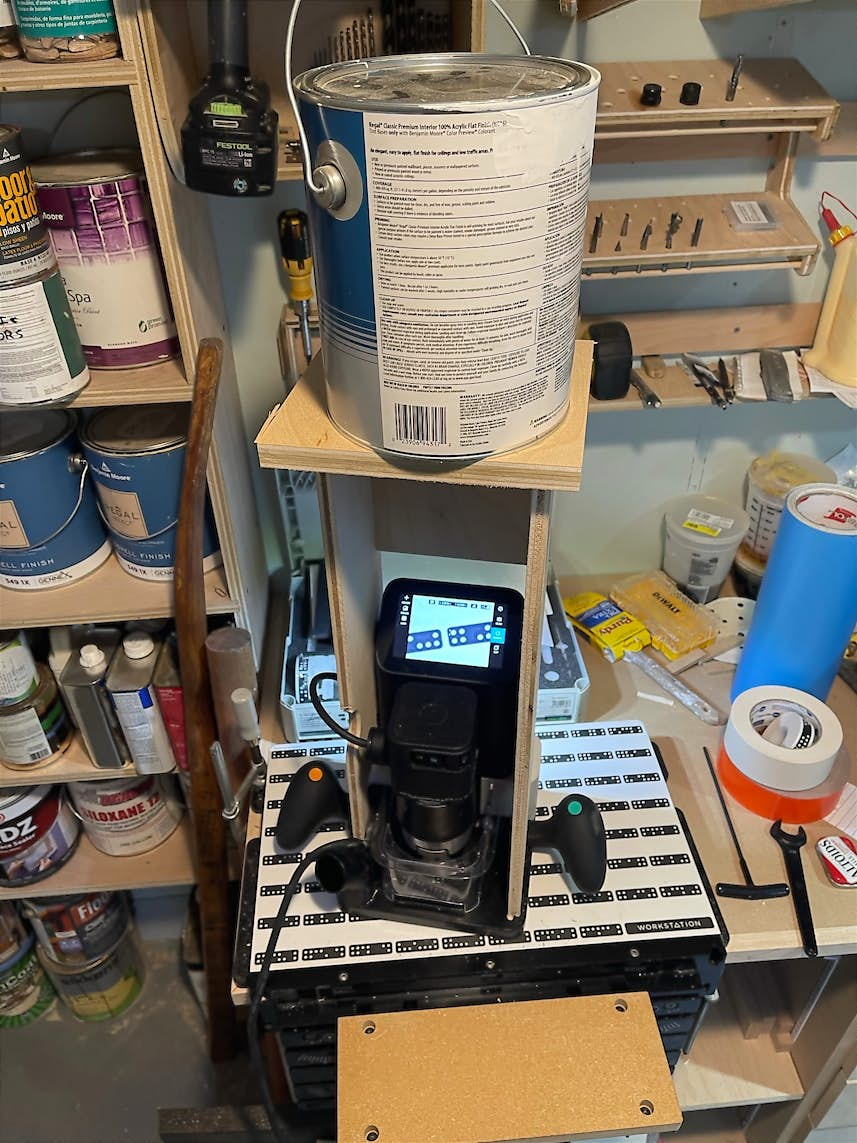
I wanted to make finer cuts and not think about so much applying downward/stabilizing force to the Shaper. I thought of applying friction to the bottom plate, but that won't work. Using free weight as a force rather than me applying force was next best option. The Shaper doesn't have many points to apply weight to tho, so I went vertical. This is draft 2, both quickly made. I don't always use this weight stand with Shaper. Where I want a super accurate cut, cutting super shallow depths, fears of the cutter jumping in a certain material, or just an expensive material. In my opinion, the consistent force applied by a weight produces a better cut.
1. Cut the two sides out of 0.5 inch material (I used 2 birch ply pieces 7"x20").
2. The brace in the middle is minimum 5.625 inches wide. I added 3/16" thick friction furniture pads to provide more stability so that made my brace 5.875" wide. Height doesn't really matter, say 6". I cut on a miter saw, but you can draw a rectangle on your Shaper that's 5.625"x6" or (5.625+(2*friction material thickness))x6".
3. Flush the tops of the two sides and middle brace. Glue/brad nail/screw/fasten the 3 pieces together. I just used brads, no glue.
4. Size of the top just has to cover the 3 pieces. Minimal 7"x6.875". I went an inch bigger on the sides. Fasten top to the 3 pieces (two sides and middle brace).
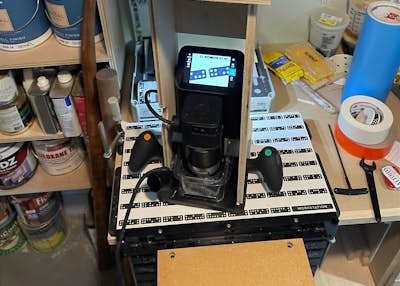
5. Once assembled you can fit it around your Shaper and put a weight on top. I just use a paint can. Then start using Shaper as normal.
TIPS
The weight makes the tool heavier to move of course, but movement is lateral rather than down+lateral. Lessen weight if too heavy.
If the piece is big enough or it's on a workbench, I can plant my elbows on the piece or workbench to provide even more stability to the cut and get a better one.
Don't lift the tool or the weight could fall off. Duh.
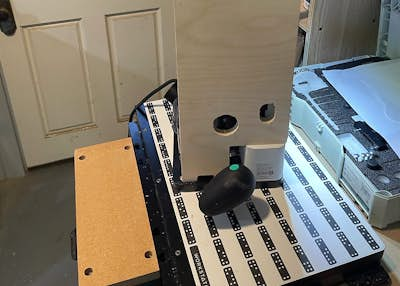
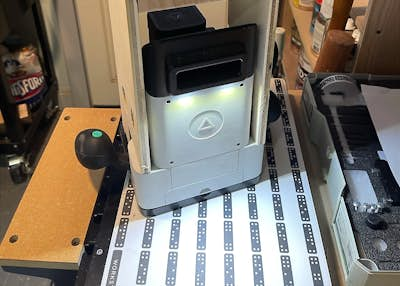
It's tall cause I'm tall. Feel free to cut the same amount off the tops of the 3 vertical pieces, but you should still be able to see the screen don't forget.
***Shaper Tools might not like this "hack" cause it's sort of a modification to their tool. Proceed at your own risk.