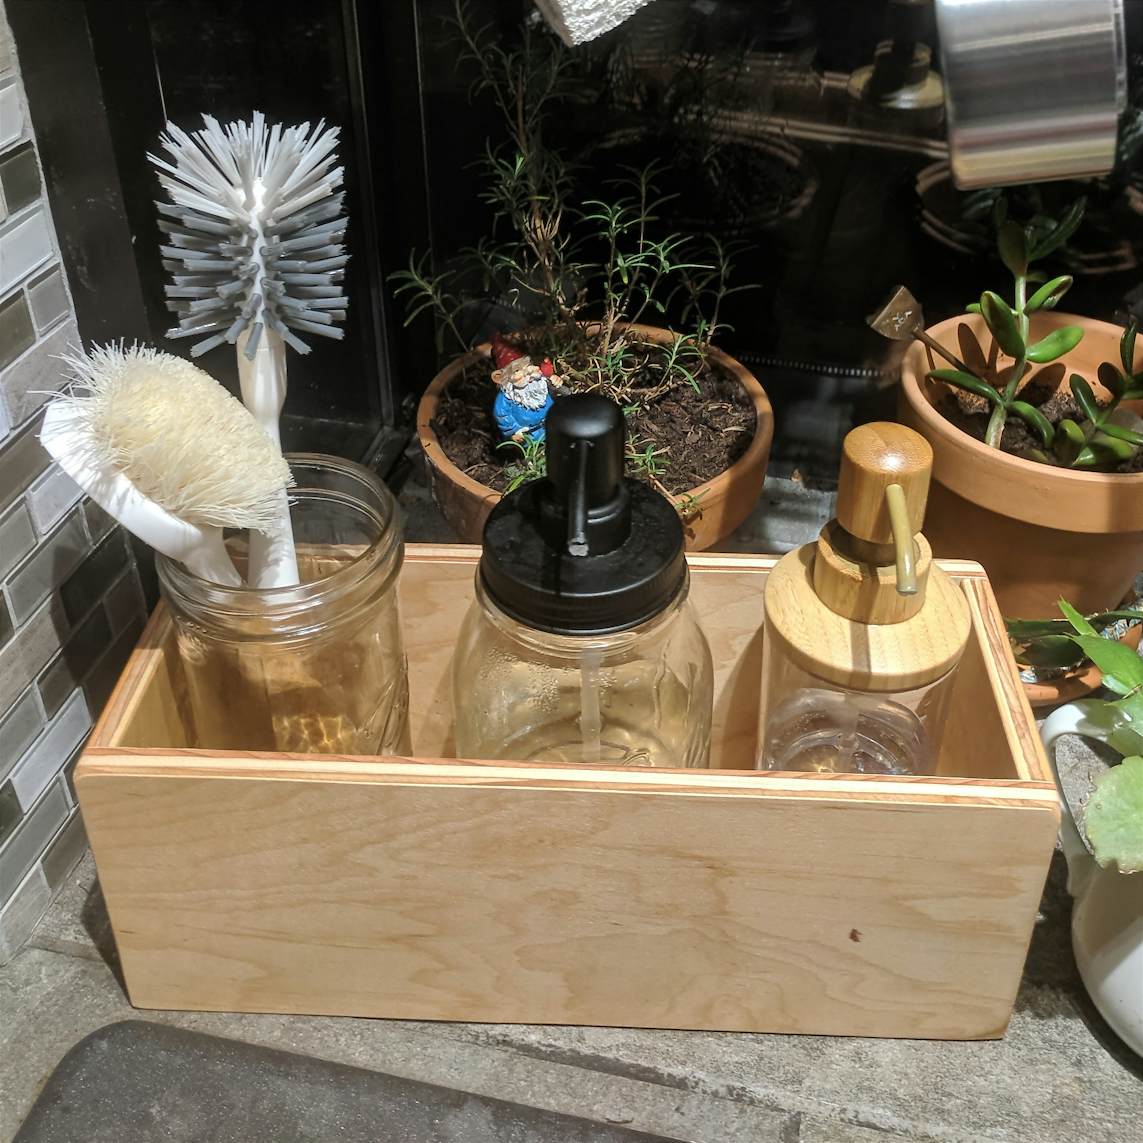
Simple box with hidden joints


With this I give you a stupid simple box with hidden joints. The box's external dimensions are 13" x 5" x 5". The pockets are made to be one-half the thickness of the ply wood deep (.233" on my plywood). The tabs' depth and width will have to match this dimension.
20
Storage & Organization
Files Included (1)
kitchen box_layout.svg
5 kB
Materials
1/2" Baltic Birch Indoor Plywood
Titebond III
Tools
Shaper Origin
File
Finger
Clamps
Sander
Finish
Instructions
## Approach Start with the end pieces first. Use a smaller piece to check your fit as you start cutting the longer side pieces. Notice that for those pieces that become tenoned pieces, that the face that is up on your workspace will become the outside of your box. For the long, side pieces that are mortised the upward face is going to be the inside of the box. ## Shaper ### For each end/smaller piece and the bottom piece 1. Cut out the pockets that form the tenons. a. Don't just use the pocket setting, mill everything inside the pocket's confines b. I used a depth of half of the plywood's thickness, .233" in my case. 2. Cut out the rest of the pieces. 3. Knock the hard corners off of your tenons using a file or a chisel. this way they'll fit into the rounded ends of the slots cut out of the longer side pieces. ### For each side piece 1. Cut your pockets/mortises, making sure to get all of the material inside the line. a. The depth must match the length of the tenons you've cut on the previous piece. b. The width must match the depth of the tenon, which will likely be .233" in the drawing. c. Consider using a smaller piece to check fit, and a little of the offset functionality may help. 2. Cut out the outsides of the parts. ## Dry Fit Mine was rather tight, but then I figured that the glue will likely work as lube to an extent and a tight fit will create better adhesion between the parts. ## Glue Go crazy. I like Titebond III, its waterproof and food-safe. Don't eat glue. Try to focus your gluing on the points that touch between the parts (I'm full of helpful tips). ## Clamp My fit was rather tight. I clamped mine, as the glue bottle suggests, for 30 minutes. I figure that if you don't parts may back out a bit and get stuck that way. You may want to remove excess glue with a damp cloth, or save it for some sanding fun. ## Sand Remove excess glue and any marks you've inadvertently left on your parts with the clamps and dirty gluey fingers. ## Finish I went really simple, just mineral oil. I figure it will keep a little water out, it's food-safe (but don't chug it, it'll make you poop A LOT), and I had some for cutting boards and other wood projects.


