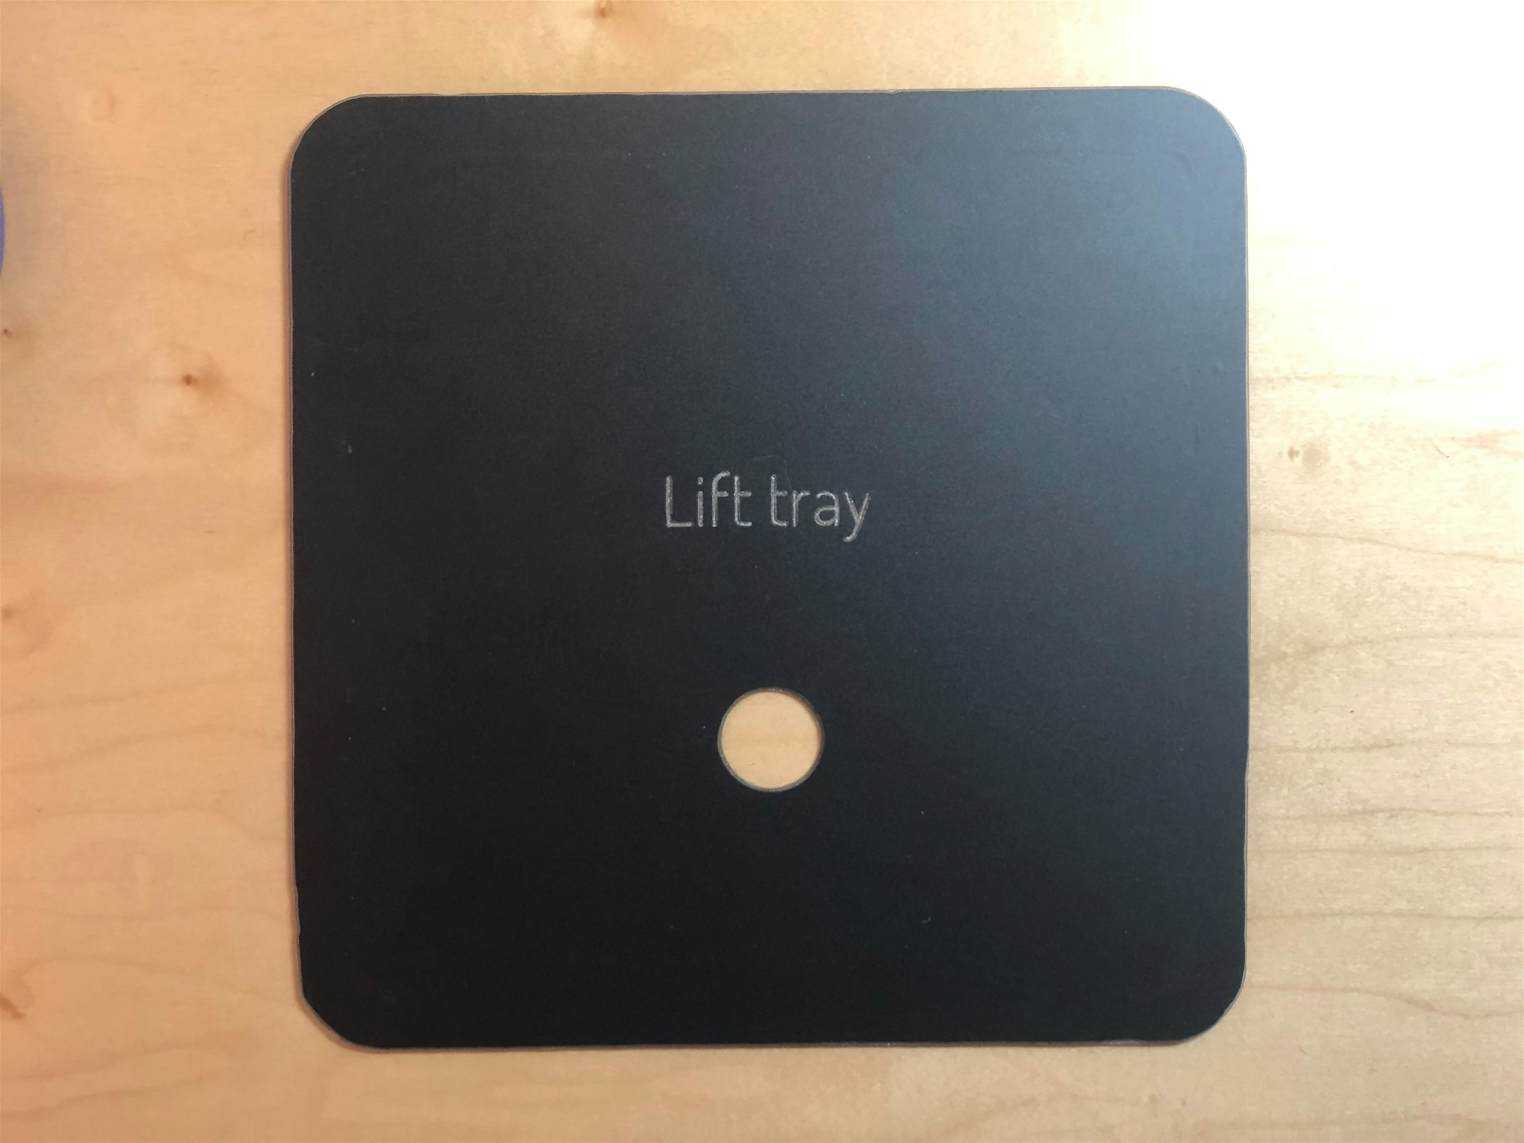
Shaper Tray


SVG for cutting your own replacement for the cardboard tray that sits beneath Shaper Origin in the Systainer. By making this out of a more rigid material it can also be used for more repeatable zero touch-off with smaller diameter and engraving bits, without them plunging into the surface of softer materials.
37
Jigs & Fixtures
Files Included (1)
Shaper_Tray.svg
2 kB
Materials
-Min 8" x 8" Plexiglass, Aluminum, or other suitable rigid/thin sheet material. Thin plywood would work fine as well, although less functional as a zero touch-off surface.
-Engraving bit for lettering
-Suitable bit for cutting your chosen material
-Matte Black Vinyl (optional)
Tools
Shaper Origin
Instructions
I used 1/8" Plexiglass that I had laying around for this project. Other material of similar thickness should work fine. Something relatively hard that will prevent the engraving bit from digging into the surface is best if you plan to also use this for zero touch-off on critical depth projects. Optional; lay matte black vinyl over the top surface prior to cutting if you want a smooth matte black finsh to the top of the finished part. 1) Engrave 'Lift Tray' text using an on-line cut. Adjust depth according to the bit and material you are using. 2) I also ran the v-bit engvaving bit over the cut lines with an on-line cut first to produce a small chamfer on all the top edges of the cuts. This is entirely optional. 3) Cut the circular hole using an inside cut 4) Cut the perimeter using an outside cut By rotating 180 degrees when doing your touch-off, the bit will not be located over the hole in the middle. Make sure that tape is visible and the sensor on the front edge of the Origin is on top of the tray so that it properly senses contact.


