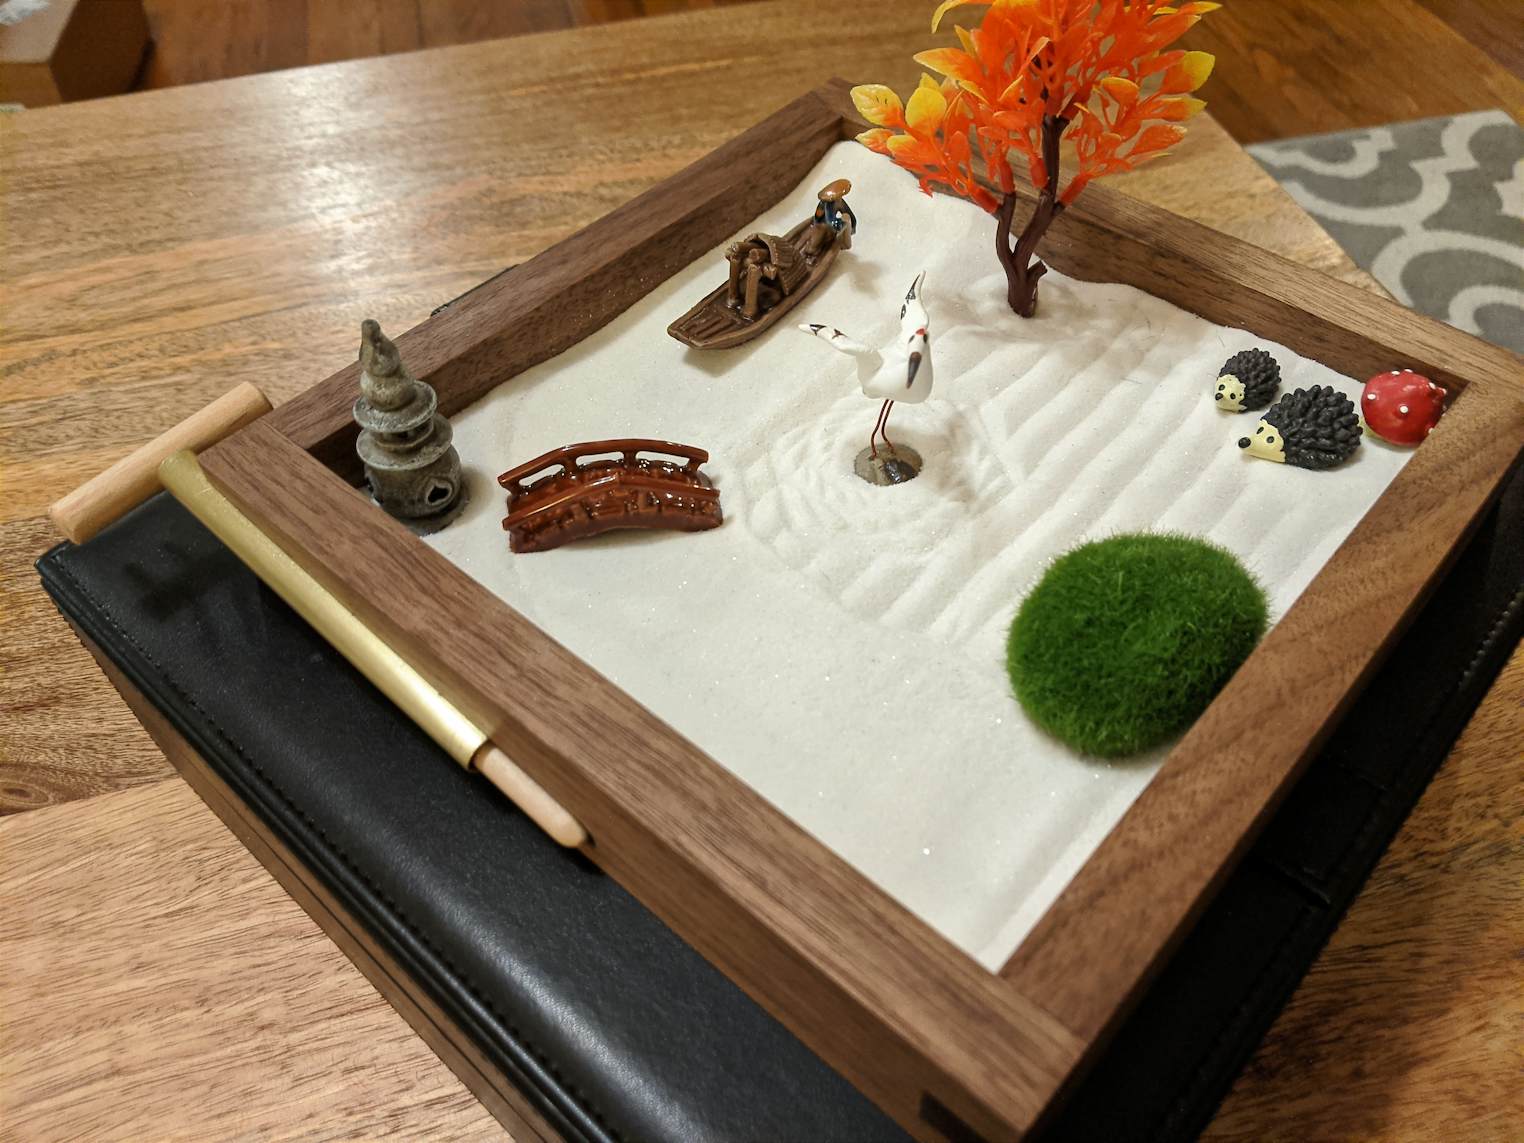
Mini Zen Garden


This miniature zen garden is made from walnut and features a brass holder for an accompanying sand rake. Add white sand and assorted miniatures to make it your own!
10
Toys
Files Included (1)
IMG_20191220_205938.jpg
5 MB
Materials
1/4" Brass Pipe for the rake holder
Wooden and brass dowels for the rake
Hardwood for the walls
Plywood and/or plastic for the base
Sand and figurines
2 Part Epoxy
Tools
Shaper Origin with 1/4" Upcut bit and 1/4" Ball nose Bit
Vertical workstation
Drill Press
Pipe cutter
Metal file
Clamps
Instructions
This project was done entirely using Origin's on-tool CAD capabilities, and there are therefore no design files to share. 1. Start by making a box of the desired size. The one shown here is approximately 8"x8". Use Origin's built-in box joint extension (or use another joinery method of your choice) to make the walls. 2. Choose a base material. I used two layers - 1/8" plywood beneath 1/8" red plastic. The red plastic gives a nice color pop when you dig up the sand. 3. Again using on-tool CAD, create the dados for the base to slide into. Follow this excellent box joint guide if you need help with making the box: https://support.shapertools.com/hc/en-us/articles/360036286273-Box-Joint-Basic-User-Guide 4. Sand the inner box walls and base with increasingly fine sandpaper up to your desired grit (I suggest 220). These will be harder to sand once the box is glued up. 5. Glue up the box, clamp it, and allow it to dry, doing your best to clean up any excess glue. 6. Create the rake using two wooden dowels. Cut them to your desired length and use a drill press to create a hole for press fitting the handle into the head of the rake. Optionally use glue if the press fit is not tight. 7. Create 5 brass tines for the rake by cutting a brass dowel to length. Round the ends of the tines by chucking them into a drill press and using a file. 8. Hold the rake into a weighted clamp and use the drill press to drill 5 holes into the end of the rake for the tines. Press fit the tines in place or use glue. 8. Get a length of brass pipe and cut it to length to serve as a holder for the rake. Polish it with steel wool. 9. Mark the location of where the pipe will be inserted into the side of the garden, and mount your box back into a vertical workstation. Use Origin to visually place a rectangle at and upwards angle, using on-tool CAD. Use a ball-nose bit to cut out the groove for the brass pipe. The bit diameter should equal the outer diameter of the pipe. 10. Sand the box to your desired smoothness. 11. Use two-part epoxy to mount the pipe into the groove you cut in the side of the box. Position it such that the rake handle has enough room to rest in the groove as shown in the photos. Fix with clamps and let dry. Consider using painters tape around the edge of the brass pipe to try to catch any epoxy that is pushed out by the clamp. 12. Remove any excess epoxy with a blade. 13. Apply finish to the box and rake - I used osmo polyx oil. 14. Add sand and tiny figurines to make it your own!


